
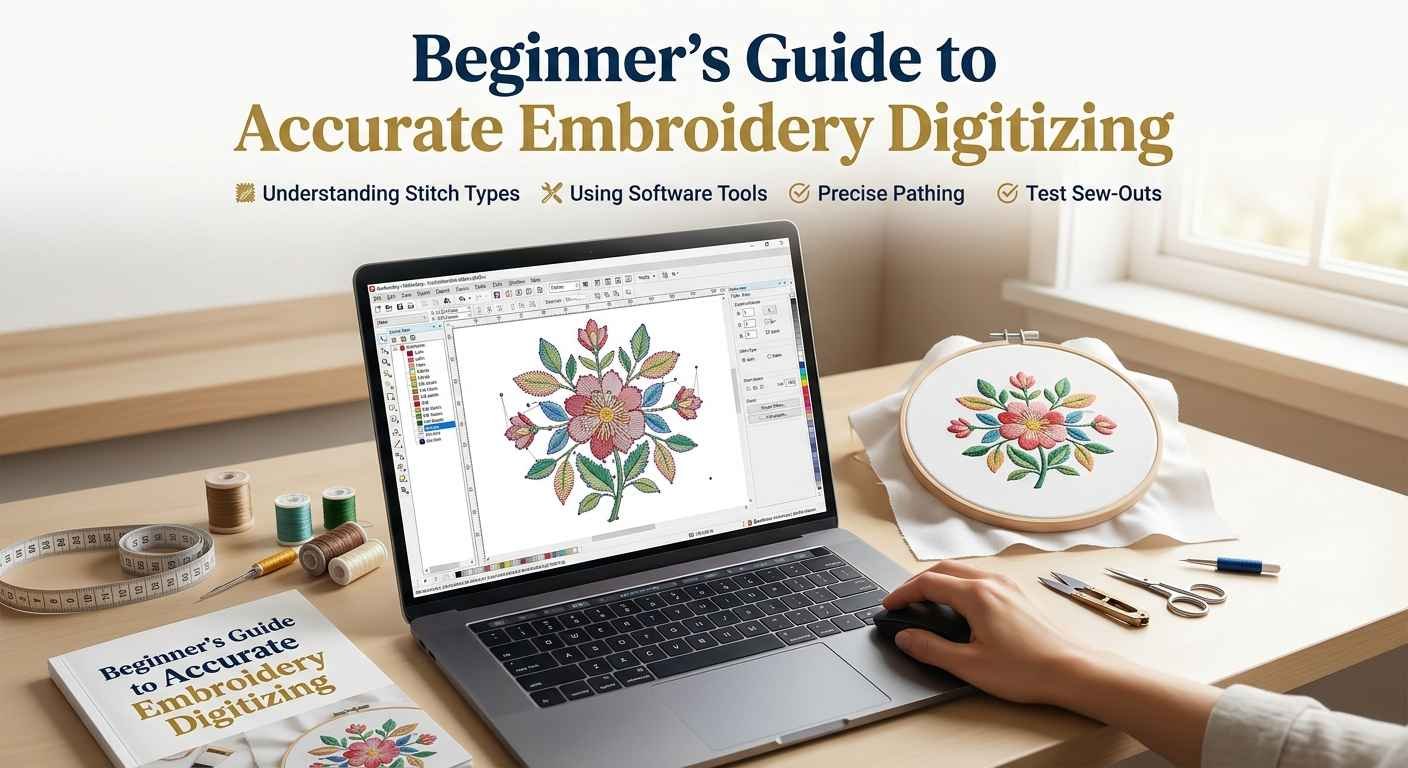
Beginner’s Guide to Accurate Embroidery Digitizing
Embroidery can turn artwork, logos, lettering, and illustrations into stitched designs for clothing, caps, bags, and many other products. However, an embroidery machine cannot simply read a standard image and reproduce it perfectly with thread. accurate embroidery digitizing is the process of preparing artwork as a machine-readable stitch file while considering how thread, fabric, design size, and machine movement will affect the finished result.
For beginners, the process may initially appear straightforward: upload an image, convert it into a file, and start stitching. In practice, creating clean embroidery requires technical decisions at every stage. The type of stitch, stitch direction, density, underlay, compensation, and sewing sequence can all influence the appearance and stability of the design.
This guide explains the essential concepts beginners should understand before preparing artwork for professional machine embroidery.
What Is Embroidery Digitizing?
Embroidery digitizing is the process of converting artwork into a series of instructions that an embroidery machine can follow. These instructions tell the machine where to place stitches, when to change thread colors, and how different parts of the design should be constructed.
A machine embroidery file is not simply a picture. It contains stitch data. Depending on the embroidery machine and software, the file may use formats such as DST, PES, EXP, JEF, VP3, or other machine-specific formats.
The goal is to create a file that produces a design that is visually clear and structurally suitable for the selected material. This is why the original artwork often needs adjustments before it can be stitched successfully.
Why Accuracy Matters for Beginners
Small technical errors can create visible problems in embroidery. For example, stitches that are too dense may cause puckering, while insufficient density can leave gaps in the design. Incorrect stitch direction may affect how the thread reflects light and how the finished shapes appear.
Accuracy also helps beginners understand that embroidery is influenced by physical materials. Thread has thickness, fabric can stretch or move, and the hooping process can affect stability. A design that looks correct on a computer screen may need additional adjustments when stitched onto a real product.
Learning these principles early can help reduce wasted materials and repeated production errors.
Start With Clean and Suitable Artwork
The quality of the source artwork can affect how easily a design can be prepared for embroidery. A clear logo or illustration allows the digitizer to identify shapes, colors, outlines, and important details.
For the best results, artwork should have clean edges and clearly defined elements. Vector files are often useful because they provide precise shapes that can be resized without losing clarity. However, high-quality PNG, JPG, or PDF files may also provide enough information for many designs.
Before creating the embroidery file, review the artwork at the actual intended embroidery size. Details that look clear in a large digital image may become difficult to reproduce when reduced to a small logo.
Understand the Main Types of Embroidery Stitches
Different parts of a design require different stitch types. Beginners should understand the purpose of the most commonly used stitches.
Running Stitch
A running stitch follows a simple line and is commonly used for fine details, outlines, and travel paths. It can be useful for thin elements that do not require wide thread coverage.
Satin Stitch
A satin stitch moves back and forth across a narrow shape. It is frequently used for lettering, borders, and narrow columns. The width of the shape and the stitch length need to be controlled to maintain smooth results.
Fill Stitch
Fill stitches are used to cover larger areas. They can be arranged in different directions and patterns depending on the design requirements. Proper planning is important because large filled areas can place stress on the fabric if the settings are unsuitable.
Choosing the correct stitch type is one of the basic steps in producing a design that stitches cleanly.
Learn How Stitch Density Affects the Design
Stitch density refers to how closely stitches are placed together. Density should provide enough thread coverage without making the embroidery unnecessarily heavy or stiff.
A common beginner mistake is assuming that adding more stitches will always improve quality. Excessive density can increase thread breaks, cause fabric puckering, and make the design feel thick. On the other hand, very low density may result in poor coverage and visible gaps.
The correct settings depend on the fabric, thread, design size, and stitch type. Beginners should test their designs rather than relying on one setting for every project.
The Importance of Underlay Stitches
Underlay is a foundation layer stitched beneath the visible embroidery. It helps stabilize the fabric and supports the top stitches.
Different types of underlay may be selected based on the design and material. Underlay can help reduce movement, improve coverage, and support cleaner edges.
For beginners, understanding underlay is important because it demonstrates that the visible stitches are only part of the complete embroidery structure. A design may look simple from the outside while containing several layers of stitches that support the final result.
Consider the Fabric Before Creating the File
Fabric behavior has a direct effect on embroidery quality. A stable material such as a structured fabric may require a different approach than a stretchy knit garment.
Lightweight fabrics can be more likely to pucker, while thick materials may need different settings to provide suitable coverage. Stretch fabrics may require proper stabilization and design adjustments to reduce distortion.
For this reason, beginners should decide where the embroidery will be used before finalizing the file. Knowing the fabric and product type helps guide decisions about density, underlay, stabilization, and design size.
Use Proper Pull Compensation
When thread is stitched into fabric, it can pull inward slightly. This effect may make narrow columns or shapes appear smaller than intended.
Pull compensation is used to account for this natural movement by adjusting parts of the design during preparation. The amount required depends on the fabric, thread, stitch type, and design structure.
Beginners do not need to memorize a single compensation setting. It is more useful to understand why the adjustment exists and test how different materials respond.
Plan the Stitch Sequence Carefully
The order in which a machine stitches different parts of the design can influence both appearance and production efficiency.
A well-planned sequence can reduce unnecessary machine movement and help prevent some elements from being covered by later stitches. It can also make color changes more organized.
For example, background elements are often stitched before smaller foreground details. However, the correct sequence depends on the specific design.
Beginners should review the stitch order before running the machine. This simple step can help identify unnecessary jumps, misplaced elements, or areas that may be covered incorrectly.
Pay Attention to Small Text and Fine Details
Small lettering is one of the most challenging parts of machine embroidery. Thread is thicker than ink, and very small spaces can fill in during stitching.
If a logo contains tiny text, thin lines, or complex details, the design may need to be adjusted for the final embroidery size. In some cases, enlarging the text or simplifying certain elements may produce a clearer result.
The goal should be readability and overall recognition rather than attempting to reproduce every tiny feature from the original digital artwork.
Test the Design Before Full Production
A test sew-out is one of the most useful steps in the embroidery process. It allows you to see how the digital design behaves when thread and fabric are involved.
During a test, check the design for puckering, gaps, thread breaks, registration problems, distorted lettering, and uneven coverage. Review the finished result from a normal viewing distance as well as close up.
If problems appear, adjust the file and test again. This process can take time, but it is usually more efficient than producing a large order with an untested design.
Common Mistakes Beginners Should Avoid
Beginners can improve more quickly by understanding common issues before they become repeated habits.
One common mistake is using the same settings for every fabric. Another is making the stitch density too high in an attempt to achieve better coverage. Beginners may also overlook the importance of underlay or ignore the actual size of the finished embroidery.
Rushing directly from artwork to production can also cause avoidable problems. Taking time to review the artwork, identify technical limitations, and test the file can lead to more reliable results.
A Simple Workflow for Beginners
A practical embroidery workflow usually begins with reviewing the artwork and confirming the intended product and embroidery size. The design is then prepared using suitable stitch types, density, underlay, and sequencing.
After the file is created, it should be tested on a material similar to the final product. Any issues should be corrected before production.
With practice, beginners become better at predicting how thread and fabric will behave. However, each new logo or material can present different challenges, which is why testing remains important even for experienced professionals.
When to Consider Professional Assistance
Some designs are more complex than others. Detailed logos, small lettering, gradients, multiple overlapping elements, and specialized applications such as caps may require advanced technical knowledge.
Beginners can learn a great deal through practice, but professional assistance may be useful when a project requires consistent production quality or involves expensive materials. A properly prepared file can help reduce avoidable production problems and save time during larger orders.
Conclusion
Learning embroidery digitizing takes practice because successful results depend on more than converting artwork into a machine file. Beginners should understand the relationship between stitch types, density, underlay, pull compensation, fabric behavior, and design size.
By starting with clean artwork, selecting appropriate stitch structures, and testing each design before production, beginners can develop stronger technical skills and produce more reliable embroidery. Accurate embroidery digitizing becomes easier to understand when each project is treated as a combination of design preparation and practical testing. For those who need support with embroidery-ready artwork, idigitize can help prepare files for a range of embroidery applications.
Frequently Asked Questions
Q1. Can beginners learn embroidery digitizing without professional experience?
Yes. Beginners can learn the basic concepts through software practice, test sew-outs, and studying how different fabrics and stitch settings affect the final design.
Q2. What file format is best for embroidery?
The best format depends on the embroidery machine being used. Common formats include DST, PES, EXP, JEF, and VP3. Always confirm which format your machine supports.
Q3. Why does embroidery pucker the fabric?
Puckering can occur because of excessive stitch density, insufficient stabilization, unsuitable underlay, fabric movement, or tension-related issues. Testing can help identify the likely cause.
Q4. How can beginners improve embroidery accuracy?
Start with simple designs, learn the purpose of different stitch types, test designs on the intended material, and review each sew-out carefully before making adjustments.
Q5. Is a test sew-out necessary for every embroidery design?
A test sew-out is strongly recommended, especially when using a new design, fabric, or production setting. It helps identify issues before a full embroidery run begins.